
Rooting is a fundamental aspect of plant propagation, and it’s essential for gardeners and farmers who want to grow new plants from cuttings. Rooting refers to the process of growing new roots from a stem or leaf, and it can be an easy and rewarding task when done correctly. In this article, we’ll explore ten simple steps for rooting cuttings, so you can have success in growing your own plants.
In this article, I will show you how to do rooting in 10 easy steps. You will need some basic tools and materials. Here is a list of required tools and materials:
- Rooting Hormone (Powder $6) or Aspirin tablets ($6)
- Root Cutting (Free)
- Pruning Shears ($13)
- Bedding/Substrate of choice (sand, perlite, soil, or a combination of these)
- Container or clear wrapping of choice
Step 1: Select your scions and rootstocks
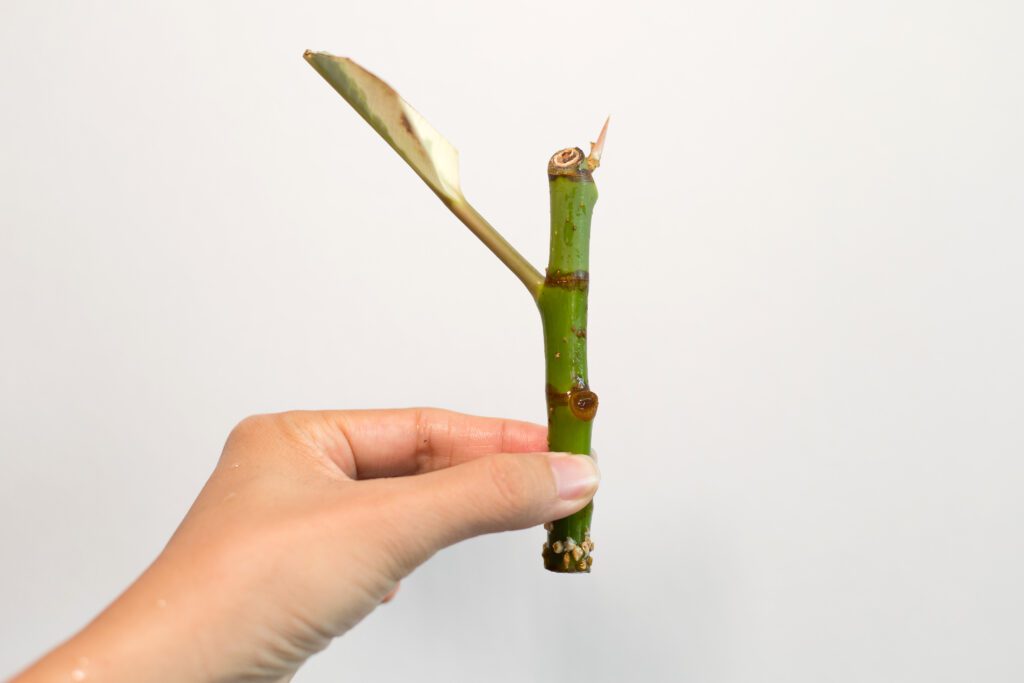
The first step is to choose your scions and rootstocks carefully. You want to make sure that they are compatible with each other, meaning that they belong to the same or closely related species or genera. You also want to select healthy and vigorous scions and rootstocks that are free of diseases and pests.
The best time to collect scions is when they are dormant, usually in late winter or early spring. You can cut them from healthy branches of your desired plants, making sure that they have at least two or three buds each. You can store them in a plastic bag with some moist paper towels in the refrigerator until you are ready to use them.

The best time to collect rootstocks is also when they are dormant, usually in late fall or early winter. You can dig up some roots from healthy plants of your chosen species or genera, making sure that they are thick enough to graft (at least 0.5 cm in diameter). You can store them in a plastic bag with some moist soil in a cool place until you are ready to use them.
Step 2: Prepare your scions
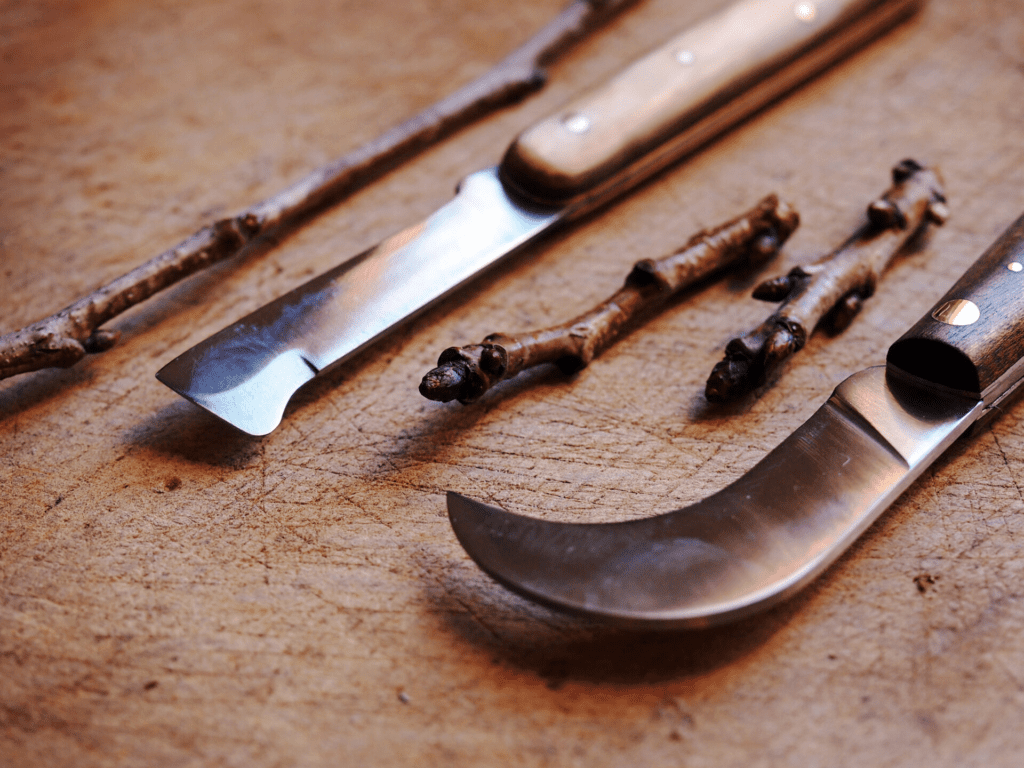
The next step is to prepare your scions for grafting. You want to trim them into pieces of about 10 cm long each, making sure that they have at least two or three buds each. You also want to make a clean cut at the bottom end of each scion piece with a sharp knife at an angle of about 45 degrees.
Step 3: Prepare your rootstocks
The next step is to prepare your rootstocks for grafting. You want to trim them into pieces of about 15 cm long each with a sharp knife at an angle of about 45 degrees at both ends.
Step 4: Make saddle cuts on your rootstocks
The next step is to make saddle cuts on your rootstocks with a sharp knife. A saddle cut is a V-shaped notch made on one end of the rootstock piece by slicing it vertically along its center line for about 2 cm deep.
Step 5: Make wedge cuts on your scions
The next step is to make wedge cuts on your scions with a sharp knife. A wedge cut is an inverted V-shaped notch made on one end of the scion piece by slicing it vertically along its center line for about 2 cm deep.
Step 6: Fit your scions into your rootstocks
The next step is to fit your scions into your rootstocks by inserting the wedge cut end of the scion into the saddle cut end of the rootstock until they fit snugly together.
Step 7: Wrap your grafts with nursery tape
The next step is to wrap your grafts with nursery tape around their junctions tightly but gently so that they don’t move apart but also don’t get damaged by excessive pressure. Nursery tape is a special kind of tape that decomposes naturally when exposed to moisture and sunlight.
Step 8: Pot up your grafts
The next step is to pot up your grafts into individual pots or trays filled with moist potting soil so that only their top buds are exposed above the soil surface.
Step 9: Label and water your grafts
The next step is to label and water your grafts well so that they don’t dry out but also don’t get waterlogged.
Step 10: Place your grafts in a warm and humid place
The final step is to place your grafts in a warm (about 20°C) and humid (about 80% relative humidity) place such as a greenhouse or under plastic

Conclusion
Rooting cuttings can be a fun and rewarding process, and with these ten easy steps, you can successfully grow new plants from existing ones. Remember to choose healthy cuttings, keep them moist, and provide adequate light and nutrients to ensure strong root growth. With a bit of patience and care, you’ll soon have a beautiful collection of plants that you’ve propagated yourself. So go ahead and give it a try – you might just surprise yourself with how easy and enjoyable rooting can be.